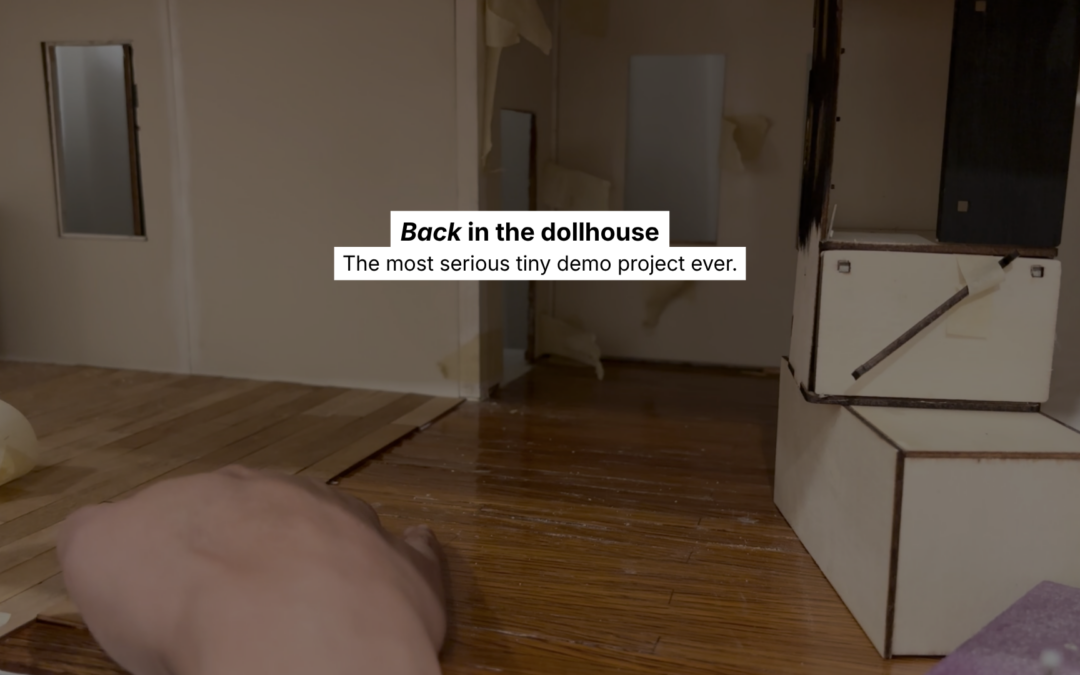
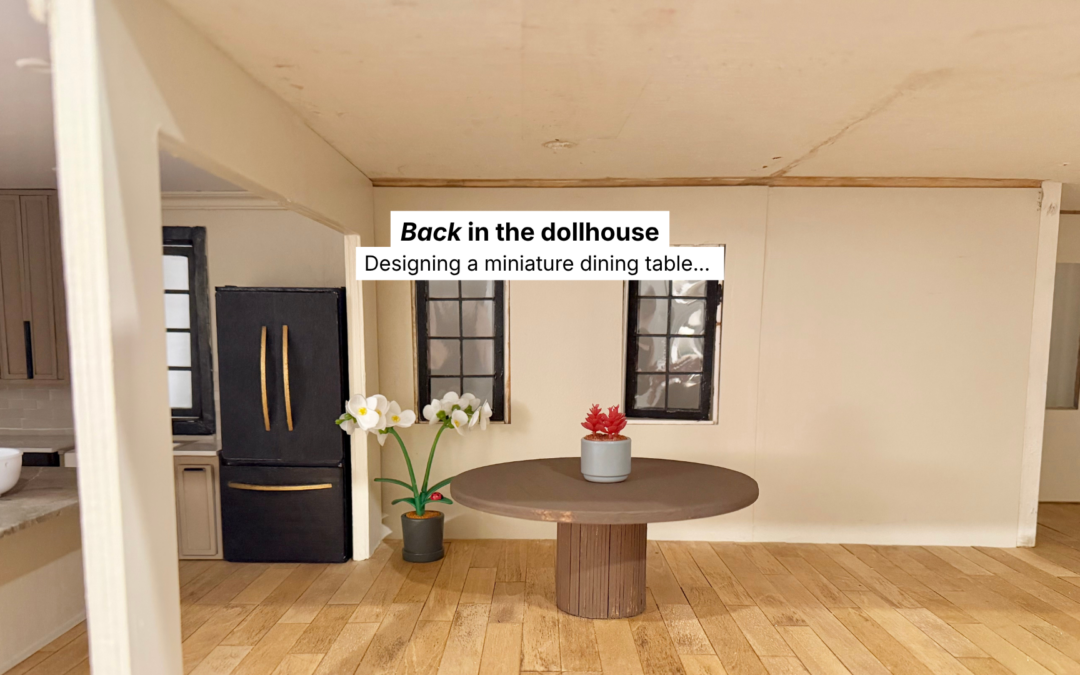
Easy DIY Accent Wall for Beginners—No Renovation Needed!

Easy DIY Accent Wall for Beginners—No Renovation Needed!

Accent walls are a fantastic way to bring personality to a room, especially in spaces like dining rooms where you want an inviting vibe. My mom’s dining room is part of an open-concept layout, and while she’d already painted the wall in a moody tone, she wanted something extra. We decided on a beginner-friendly accent wall design that wouldn’t overwhelm the room or require a renovation.


I’ve broken down the step-by-step below and included the items that I used (with links, where possible). If you prefer to ‘watch rather than read’ I’ve got the video below also! 

Post may include affiliate links, and I may earn a small commission when readers purchase items through my links.

DIY Supplies You’ll Need

Here’s everything we used for this beginner-friendly DIY accent wall project:

1×2 pine boards – enough to cover the wall based on your desired design
Brad nail gun – for quick, secure attachment
Miter saw – to cut precise 45-degree angles
Painter’s tape – optional, to protect walls or ceilings
Construction adhesive – optional, for extra hold
Caulk or wood filler – to fill in gaps and nail holes
Primer and paint – for a smooth, cohesive finish

Here’s the video walkthrough:

In the video below, I talk through what we did to complete this accent wall project. Below that, are the steps broken down within the blog post. 

YouTube player

Here’s the step-by-step:

Here’s everything we did to complete this simple and affordable accent wall project.

DIY Wood Slat Accent Wall Before Photo

Step 1: Preparing the Wall

Since my mom had already painted her wall, we skipped this step. But if you’re starting from scratch, consider smoothing out any wall texture (like orange peel) with joint compound for an extra-polished look. This is optional but can make a difference for a perfectly smooth finish.

Step 2: Planning the Accent Wall Pattern

To keep this beginner-friendly, we went with an abstract design that didn’t require a strict pattern or measuring for each piece. I sketched out a general plan with my mom and sister, but we mainly followed our instincts as we placed each board. This approach is perfect for beginners—it lets you be flexible and make adjustments as you go.


Accent Wall Sketch

Step 3: Cutting and Placing the Boards

Using the miter saw, I cut each 1×2 board at a 45-degree angle. This cut makes it easy to fit pieces together for a clean look. If you’re new to angles, think of a 45-degree cut as half of a right angle, which creates a professional, flush finish.

Wood Accent Wall

Step 4: Attaching the Boards

We attached the boards with a brad nail gun, but if you’re planning to keep your wall long-term, you could add a bit of construction adhesive for extra hold. Just be cautious; adhesive can be tough to remove if you decide to take down the accent wall in the future.

Installing DIY Accent Wall

Step 5: Finishing Touches – Filling, Sanding, and Painting

After attaching the boards, we filled any gaps, seams, and nail holes with caulk or wood filler. Once everything dried, we lightly sanded for a smooth finish. Finally, we painted the wall using a paint with primer included for a seamless look that tied the room together beautifully.

Installing DIY Accent Wall

Tips for a Successful Beginner-Friendly DIY Accent Wall

  • Stay Flexible: Adjust your pattern as you go. Step back often to make sure the design looks good from a distance.
  • Use Painter’s Tape: Tape off areas like the ceiling or adjoining walls to keep paint where it belongs.
  • Avoid Too Much Adhesive: If you’re unsure about keeping the wall, stick with nails only or use adhesive sparingly.
Wood Slat Accent Wall

Final Thoughts: A Budget-Friendly Accent Wall Anyone Can Do!

This DIY accent wall project was quick, affordable, and fun! If you’re a beginner looking for a way to transform your space without spending a fortune, this project is for you. With some pine boards and a little creativity, you can give any room a custom look in no time.

For a closer look at each step, check out the full YouTube video where I take you through the process in real-time. Don’t forget to visit the blog for more beginner-friendly DIY home decor ideas!

How to Create a DIY Affordable (Budget-Friendly) Mantel for Under $50

How to Create a DIY Affordable (Budget-Friendly) Mantel for Under $50

Hey there, it’s Léi! Today, I’m diving into one of my favorite types of DIY projects—a budget-friendly fireplace mantel makeover.

If you’ve been staring at an outdated shelf or mantel in your living room and thinking, “I want to update this without spending a fortune,” then you’re in the right place.

For under $50, I’ll show you exactly how I turned my old Ikea Lack shelf into a sleek, stylish mantel that’s both affordable and doable for anyone.

Step-by-Step Guide: How to Transform Your Fireplace Mantel

Let me walk you through my process, so you can recreate this look in your own home! You can also watch the YouTube video below. 


YouTube player

DIY Supplies You’ll Need

Here’s everything we used for this beginner-friendly DIY accent wall project:

2×6 pine boards – enough to cover the wall based on your desired design
cove moulding
ornamental moulding
unfinished wood corbel/bracket
Brad nail gun – for quick, secure attachment
Miter saw – to cut precise 45-degree angles
Painter’s tape – optional, to protect walls or ceilings
Construction adhesive – optional, for extra hold
wood filler – to fill in gaps and nail holes
Primer and paint, or wood stain

1. Removing the Old Mantel Shelf

My fireplace had been sporting an Ikea Lack shelf that’s seen better days.

The first step was taking it down—but of course, it wasn’t as easy as just sliding it off. With a little elbow grease and the right tools (hello, drywall anchors), I got that sucker off.

Pro tip: Always check for any construction adhesive or caulking that might be holding your old shelf in place!

2. Cutting and Measuring Affordable Wood Pieces

For this makeover, I wanted a mantel that spanned the full length of the fireplace, unlike the original Lack shelf that fell short.

So, I grabbed some budget-friendly pine boards and carefully measured them to fit the space. This step is all about precision—measure twice, cut once!

I also picked up some corbels and trim to give the mantel that extra pop of dimension and style.

For the DIYers out there: corbels are a fancy word for brackets, and they’re a great way to elevate the look without breaking the bank.

cutting affordable wood for DIY mantel

3. Assembling the Mantel

After cutting the wood to the perfect size, it was time to assemble everything. I stacked the boards, added trim for extra flair, and used simple wood glue and screws to secure it all together.

A few tricks I’ve picked up over the years: clamps are your best friend for keeping everything tight while the glue dries, and using a brad nailer can speed up the process of attaching trim.

4. Installing the New Mantel

Once the mantel was fully assembled, it was time to install it. Since my wall didn’t have studs in the right place (so annoying!), I used drywall anchors to ensure the mantel was properly secured.

For added support, I attached the corbels underneath the shelf—not only do they look cute, but they also help distribute the weight.

DIY mantel installation

5. Adding the Perfect Stain for a Polished Look

The final touch was staining the wood. I went through a couple of color options before landing on a black satin finish that perfectly complements the rest of my living room decor.

If you’re unsure about which stain to use, don’t be afraid to try a few different samples until you find the one that speaks to your vision.

Bonus Tips for a Seamless DIY Mantel Makeover:

  • Use What You Have: Before buying all-new materials, check if you can repurpose anything in your home. I reused some trim I already had on hand.
  • Measure Accurately: This is key to making sure your pieces fit together properly and the final look is clean.
  • Take Your Time: While I aimed for this project to be quick, DIY projects have a way of surprising us with small setbacks. Stay patient and enjoy the process!

Final Thoughts: Is a DIY Mantel Makeover Worth It?

Absolutely! This project only took a few days (and a few curse words), but now I have a mantel that’s both stylish and functional.

Plus, it didn’t break the bank. For under $50, I managed to give my living room a fresh new look that feels custom, without the cost of a full renovation.

If you’re looking to upgrade your space on a budget, give this DIY mantel makeover a try. It’s the perfect way to make a big impact without spending big money.


Like what you see? Don’t forget to like, comment, and subscribe to my channel for more budget-friendly DIY home projects. Let’s build this creative community together and keep creating beautiful, affordable spaces!