I finally started renovating the vintage dollhouse I found on Facebook Marketplace last summer.
The house is from the 80s and already had a lot of charm, personality, and interesting details when I got it. But almost immediately, I started imagining what I wanted to change — different colors, updated exterior details, new windows, new rooms, new layouts, all of it.
So this video is basically the official beginning of the renovation.
I started with the exterior first: demo, scraping trim pieces off, repainting the roof and siding, and starting to figure out the overall direction I want the house to go stylistically.
THE ORIGINAL HOUSE
One of the reasons I loved this dollhouse so much immediately is because it already felt very lived-in and full of personality.
It’s not a perfect house. Parts of it are unfinished, some additions were clearly added later, and there are a lot of little details that need work.
Which honestly made it even more interesting to me.
I’ve always loved interiors, renovation projects, tiny details, and hands-on creative work, so this project immediately felt like the perfect combination of all of those things.
STARTING WITH THE EXTERIOR
Before I let myself get distracted decorating tiny rooms or buying miniature furniture, I wanted to start with the structure first.
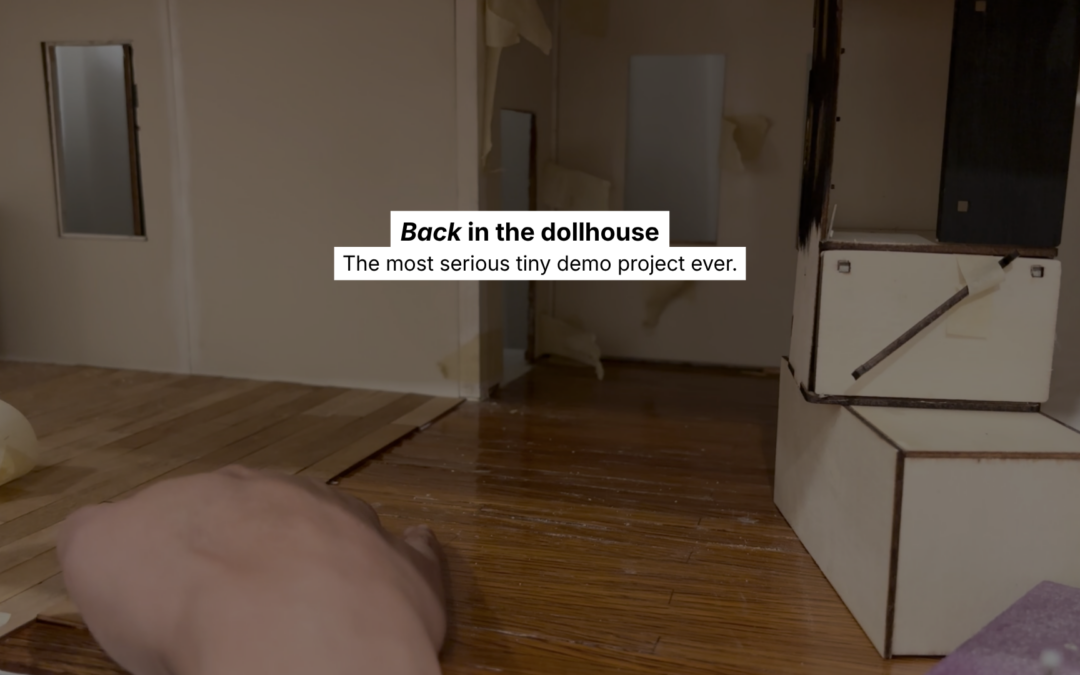
So a lot of this phase was just demo.
Pulling trim pieces off. Scraping things down. Removing old details. Making a complete mess.
And honestly, the sped-up tapping and scraping sounds are weirdly satisfying.
This stage is still very rough and very unfinished, but it helped me start clearing things back so I could rebuild the exterior in a way that feels more aligned with the direction I have in mind for the house.
PAINTING THE ROOF & EXTERIOR
The black roof was one of the first design decisions I felt really sure about.
I wanted contrast, and I wanted the house to start feeling a little more updated while still keeping some of the original charm.
Once paint started going on, it became a lot easier to start visualizing where the renovation is headed overall.
Still definitely a work in progress though.
There are still windows to rebuild, exterior details to finish, rooms I haven’t touched yet, and about a hundred tiny decisions left to make.
THE WINDOWS
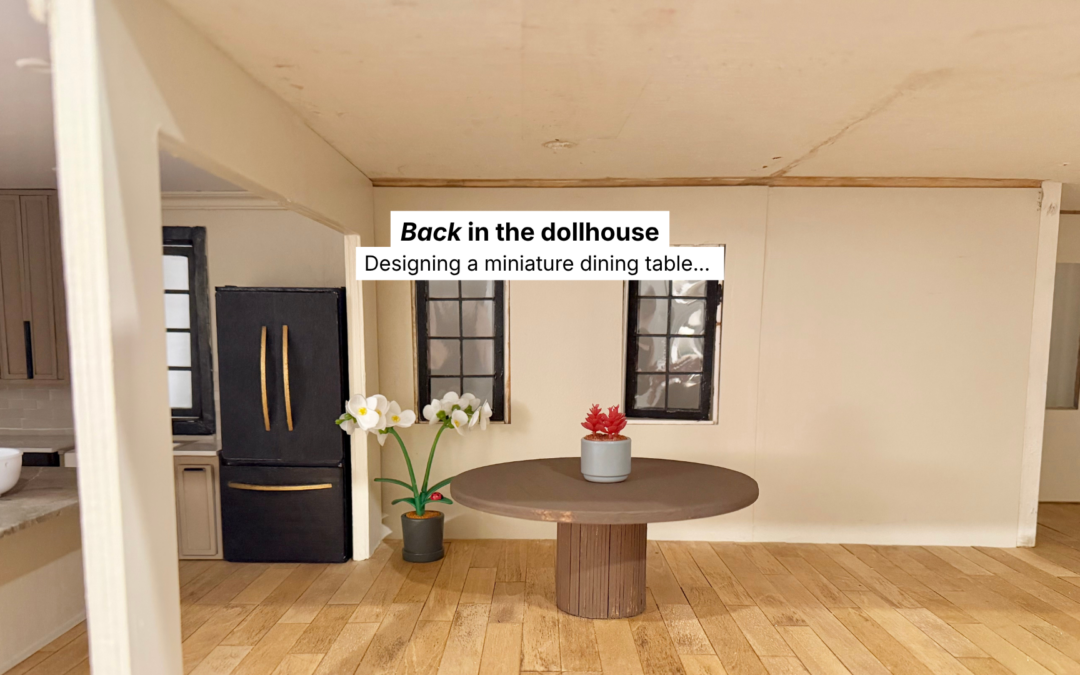
The little black windows are probably one of my favorite details so far.
They were also my first attempt at making miniature windows completely from scratch, which somehow felt both very fun and unnecessarily stressful at the same time.
The fact that they actually swing open still makes me ridiculously happy.
Tools + Materials Used
- Painter’s tape — https://amzn.to/3Z1TL3j
- Paint brush — https://amzn.to/4dqtmDM
- Hammer – https://amzn.to/4dt0R8z
- Gel stain – https://amzn.to/4uYmjYS
- Chisel set – https://amzn.to/3RIWDRz
Full materials list and everything I use in my studio is linked in my Amazon Favorites — coming soon.
Watch the Full Build
The video above walks you through the entire process with voiceover. If you want to follow the full dollhouse kitchen renovation from the beginning, the complete series playlist is linked here.
What’s Next
This is really just the beginning of the renovation.
Every room is basically going to become its own tiny design project, which honestly feels very on-brand for me.
Next up will probably be more exterior work, windows, interior layout planning, and finally starting to work room by room through the house.
There’s still a long way to go, but I’m really excited to keep building this little world piece by piece.