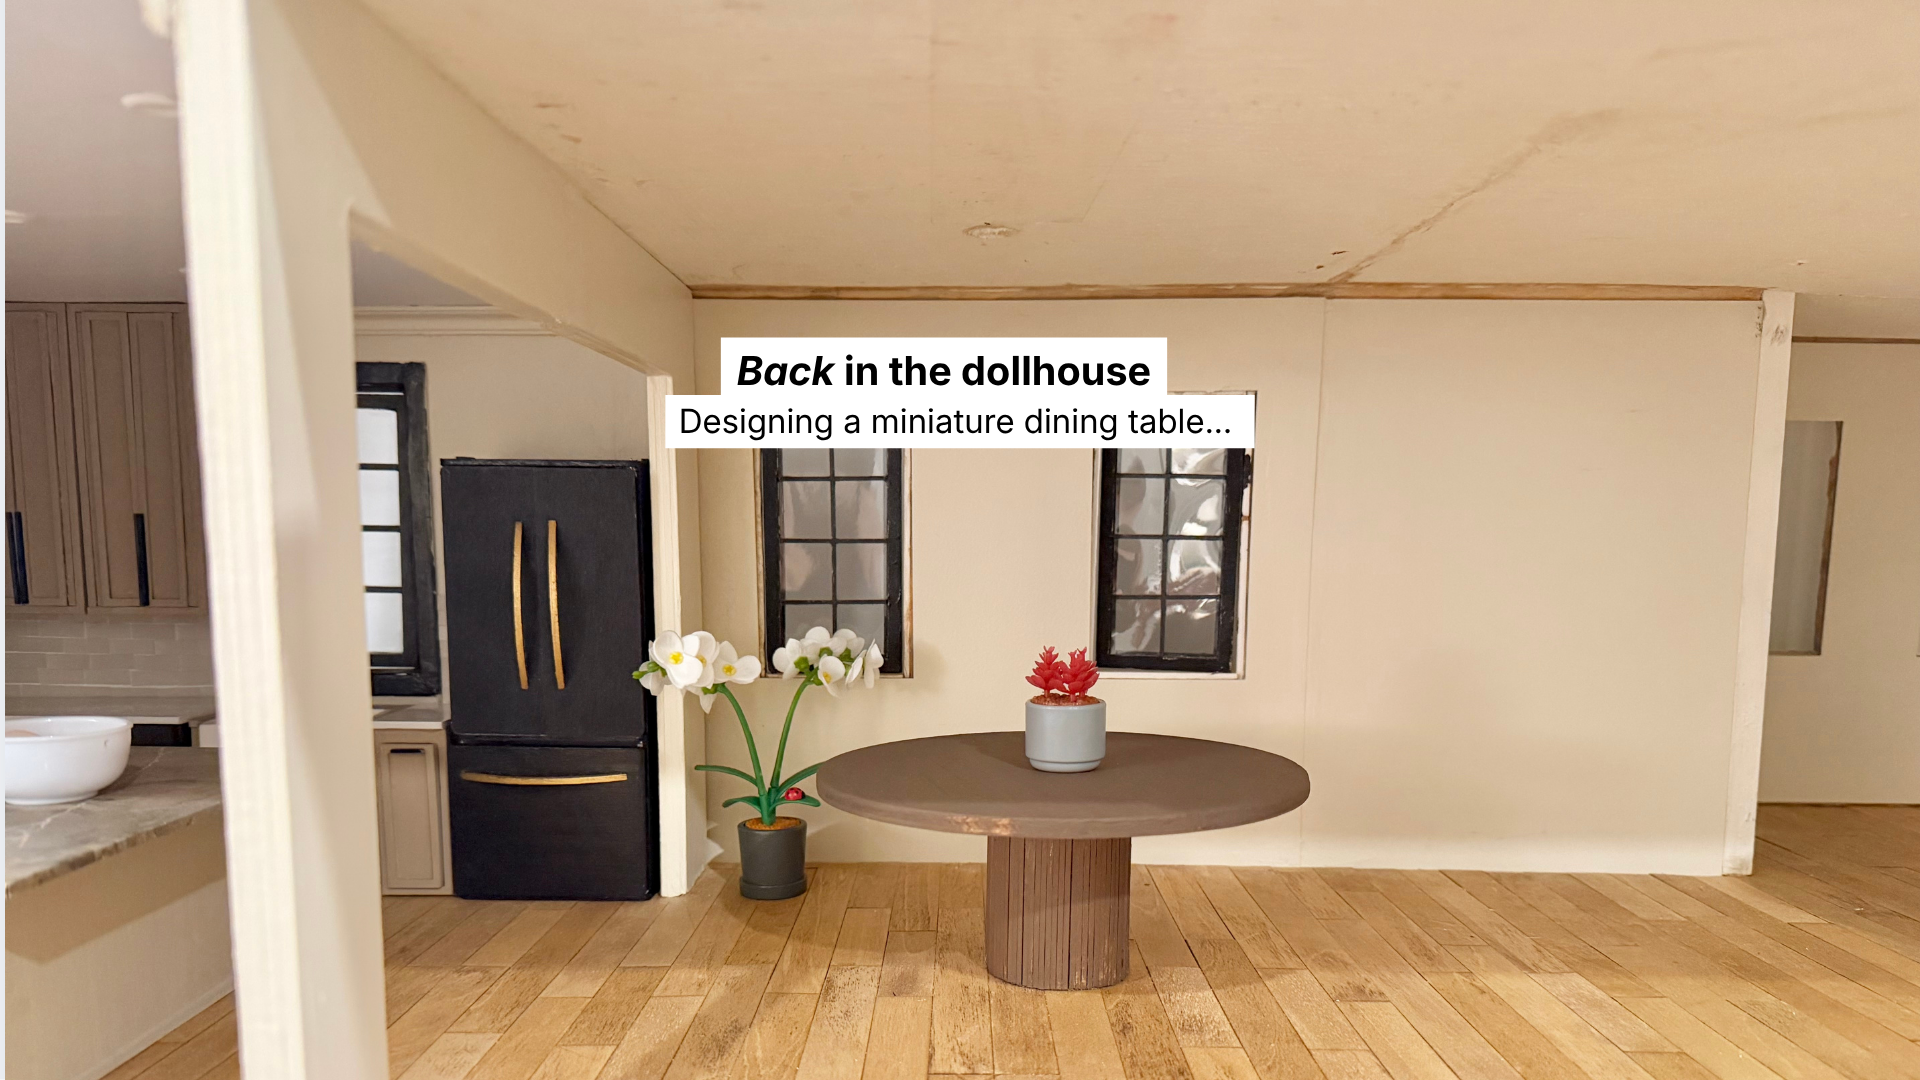
The dollhouse dining room officially has a table now… and honestly, it accidentally ended up giving tiny West Elm showroom energy.
This project started the same way a lot of these builds start for me: rough sketches, testing proportions, cardstock prototypes, and a lot of figuring things out in real time before committing to the final version.
I knew I wanted the dining room to feel modern, warm, sculptural, and a little organic-modern without making the space feel overcrowded. So before building anything permanently, I spent some time experimenting with different shapes and proportions to see what actually felt right in the room.
And honestly? Those little testing phases are kind of my favorite part.
Starting With Cardstock Prototypes
One thing I’ve learned while working on miniatures is that proportions can look completely different once they’re physically inside the dollhouse.
Something that feels perfect on paper suddenly looks:
- too bulky
- too short
- too thin
- weirdly oversized
- or just… off
So before building the actual table, I used cardstock to test the overall shape and scale first.
Honestly, this step saves me so much frustration later.
It also helps me figure out:
- the overall silhouette
- the width of the tabletop
- how much visual weight the base should have
- whether the proportions feel balanced in the room
And because this dining table has more of a chunky pedestal-style base, getting those proportions right mattered a lot.
The Overall Style Direction
The vibe I kept coming back to was very:
- modern organic
- sculptural furniture
- warm wood tones
- contemporary interiors
- tiny West Elm energy
I wanted the table to feel simple, but still visually interesting enough to anchor the room.
The pedestal base ended up becoming one of my favorite parts because it gave the table more presence without overwhelming the room itself.
Letting the Process Be the Process
One thing I really liked about filming this project was how conversational the footage ended up feeling.
A lot of the video became less about “perfect instruction” and more about documenting the actual process:
- testing ideas
- adjusting proportions
- reacting in real time
- changing direction
- figuring things out as I went
And honestly, I think those moments are what make creative projects interesting in the first place.
Not just the final result — but all the tiny decisions and experiments that slowly shape the project into what it becomes.
The Final Result
Once the table was finally in place, the whole dining room immediately started feeling more finished.
It still needs chairs and more styling eventually, but the table helped establish the direction of the space:
modern, warm, minimal, and slightly tiny-West-Elm-ish.
And honestly… I’m kind of obsessed with how it turned out.
Tools + Materials Used
- Mini Sander — https://amzn.to/4wUw9Ni
- Paint brush — https://amzn.to/4tOUFOl
- Plywood sheets – https://amzn.to/4dHloVM
- Wood glue – https://amzn.to/4tOUFOl
- Super glue – https://amzn.to/4e44Msr
- Laser – https://amzn.to/4b8ufiU
Full materials list and everything I use in my studio is linked in my Amazon Favorites — coming soon.
Watch the Full Build
The video above walks through the entire process with real-time footage and voiceover commentary throughout the build.
If you want to follow the full dollhouse renovation series from the beginning, you can also find the rest of the builds, room progress, and miniature projects over on the YouTube channel.
What’s Next
The dollhouse is still very much in progress… which means there are still plenty of rooms, projects, tiny design decisions, and “wait… why did I think this would be easy?” moments ahead.
More builds, styling updates, furniture projects, and room progress are already on the way.
Make sure to subscribe on YouTube and follow along on social media if you want to keep up with the next phase of the renovation. Honestly, things are starting to get really good now.