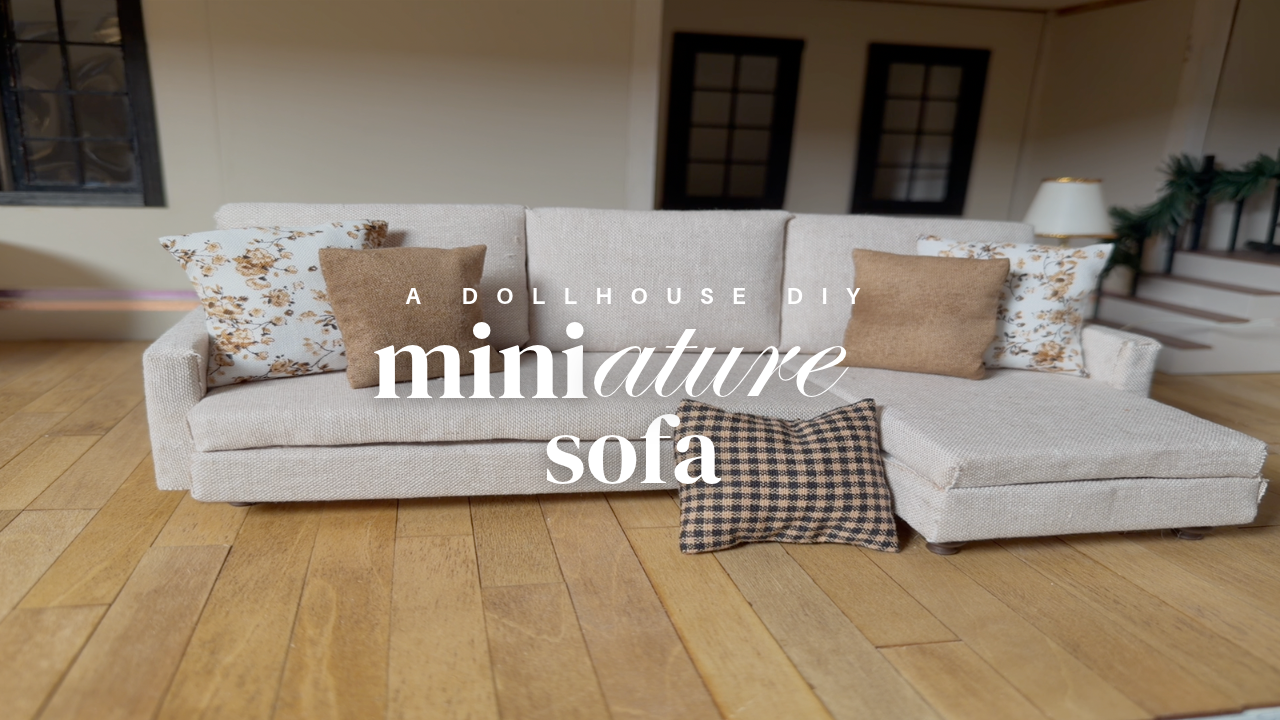
An upholstered 1:12 scale sofa, a few lessons learned, and the little details that finally brought it all together.
HOW IT ALL STARTED…
I’ve been working on a miniature sofa for my dollhouse for what feels like forever. And by working on, I mean trying different designs, experimenting with materials, changing my mind, and occasionally starting over completely. Actually did this a few times– as in 4 different versions of a sofa before she became ‘her’.
But it as all worth it, I finally have one that just feels right!
For this version, I wanted something soft, cozy, and a little more true to my vision than my earlier attempts. I used foam for the structure, a linen-cotton blend for the upholstery, and a few tiny 3D-printed details to finish it off.
Here’s how it came together.
Watch the Miniature Sofa Come Together
In the video, I’m taking you along through the process, including the little adjustments and problem-solving moments that helped me get the look I wanted.
Starting with the Sofa Shape
I started with a miniature sofa template I found online, then adjusted the sizing and proportions to better fit my dollhouse and the style I had in mind.
Before cutting any foam, I tested the pieces using cardstock. This gave me a chance to see how everything would fit together and make adjustments before committing to the actual structure.
Once I was happy with the shape, I used a ruler and utility knife to cut the foam pieces, gluing layers together wherever I needed additional thickness.
Getting a Smooth Finish
One technique I picked up from other miniature furniture tutorials was wrapping the foam pieces in paper towels before upholstering them.
It sounds a little unusual, but I really liked the results!
The paper towels helped cover seams and small imperfections in the foam, creating a smoother surface for the fabric. I also discovered that trimming the corners before gluing everything down made it much easier to get those crisp, clean edges.
Sometimes it’s the smallest adjustments that make the biggest difference.
Choosing the Upholstery
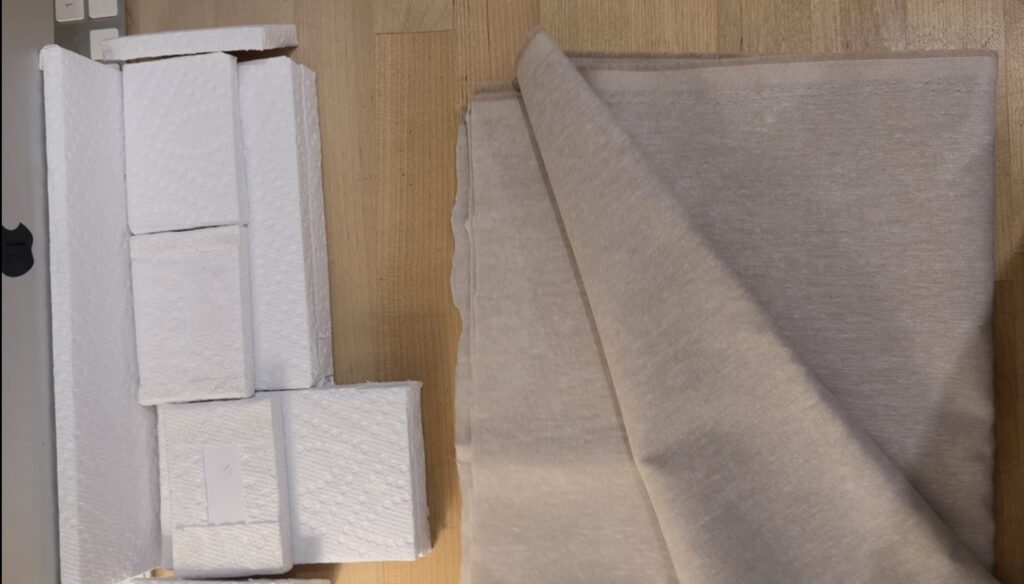
For the upholstery, I chose a neutral linen-cotton blend. I love the texture, and the color gives me plenty of flexibility to change the look with throw pillows, blankets, and seasonal accessories.
One thing I learned along the way was that the adhesive really matters, especially with fabric.
I initially tried Aleene’s Original Clear Gel Tacky Glue, but noticed it affected the appearance and texture of the linen-cotton blend in certain areas.
Switching to Lineco Neutral pH Adhesive worked much better for this particular fabric.
For the cushions, I added a little batting to soften the edges and give them a fuller appearance.
The back cushions required a different approach. Wrapping batting around the entire cushion made all three too bulky to fit properly between the sofa arms. Adding batting only to the front gave me the softer look I wanted without throwing off the fit.
Assembly and Finishing Touches
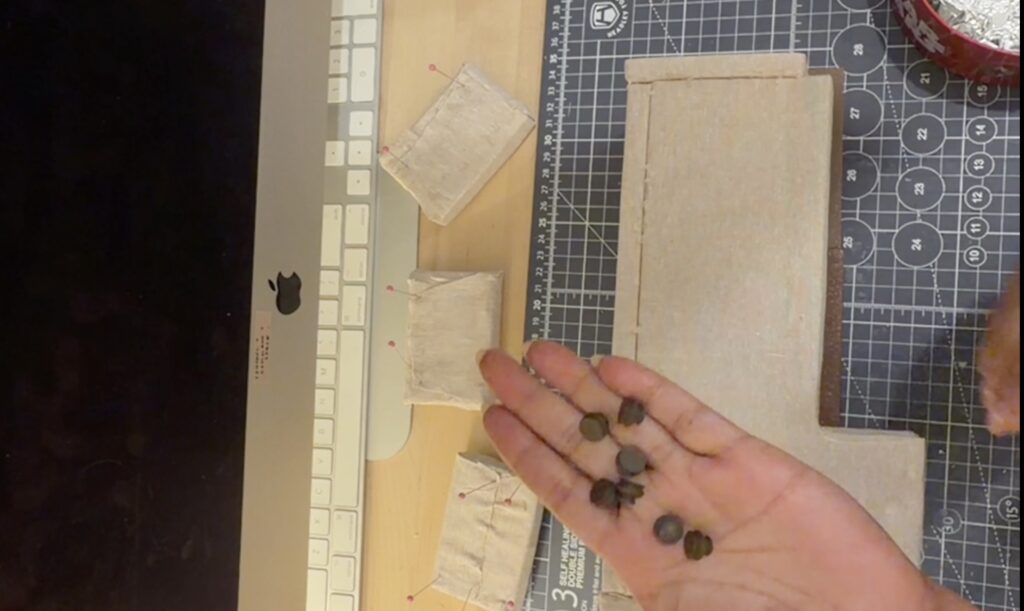
Attaching the arms was one of the trickier parts of assembling the sofa. Even a slight shift could affect the overall shape, so I used PVA adhesive with a small amount of super glue for an immediate hold, then clamped everything in place while it dried.
And of course, I couldn’t leave the sofa without feet!
I designed and 3D-printed a set of tiny feet inspired by a combination of turned furniture legs and bun feet. They’re a small detail, but they give the finished sofa so much personality.
The Finished Miniature Sofa
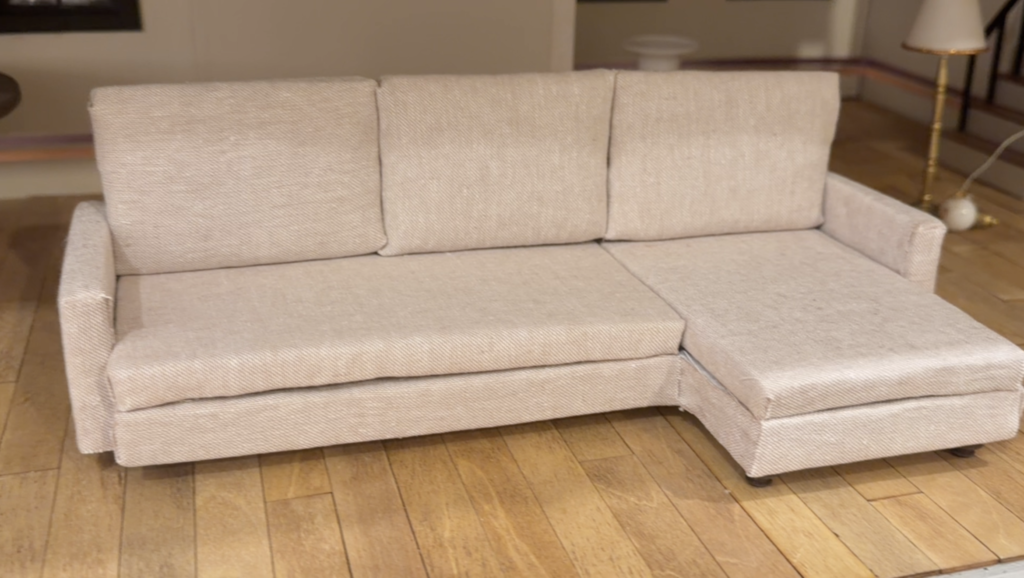
Once everything was assembled, I placed the sofa in the dollhouse and added a few miniature throw pillows I’d made.
And there she is!
I love how this version came together. It’s soft, simple, and exactly the kind of cozy little sofa I wanted for this space.
The throw pillows are another project I’ll be sharing soon, so stay tuned for those!
Project Tools + Materials Used
Just a heads-up: Some of the links below are affiliate links, which means I may earn a small commission if you purchase through them, at no extra cost to you. Thanks for supporting Create with Léi! 🤎
Adhesives:
- Clear glue – https://link.amazon/B0hgTHx1T
- pH glue – https://link.amazon/B00s8HuKE
Other materials and tools:
- Foam sheets
- Cardstock for testing templates
- Linen-cotton blend fabric
- Batting – https://link.amazon/B0dTuUG50
- Paper towels
- Straightedge ruler
- utility knife
- Sewing pins and clamps
- Custom 3D-printed sofa feet
If you’re working on your own dollhouse furniture, I’d love to hear what you’re making!
And if you’d like to see the full process, don’t forget to watch the video above and subscribe to Create with Léi for more miniatures, DIY, home, and creative projects.
Full materials list and everything I use in my studio is linked in my Amazon Favorites — coming soon.