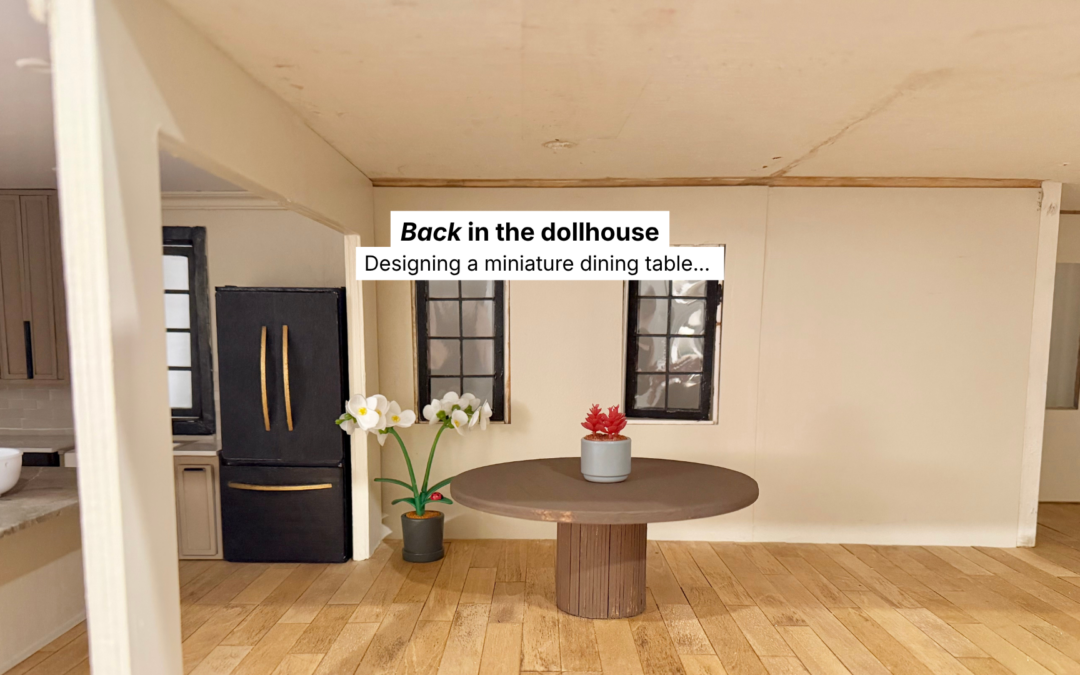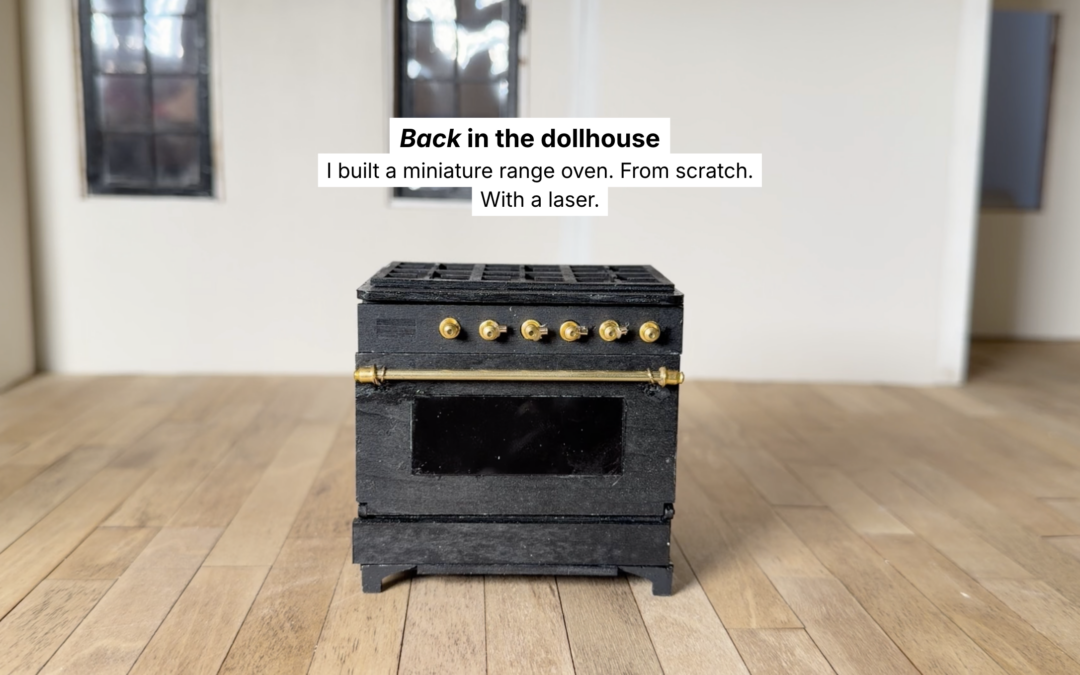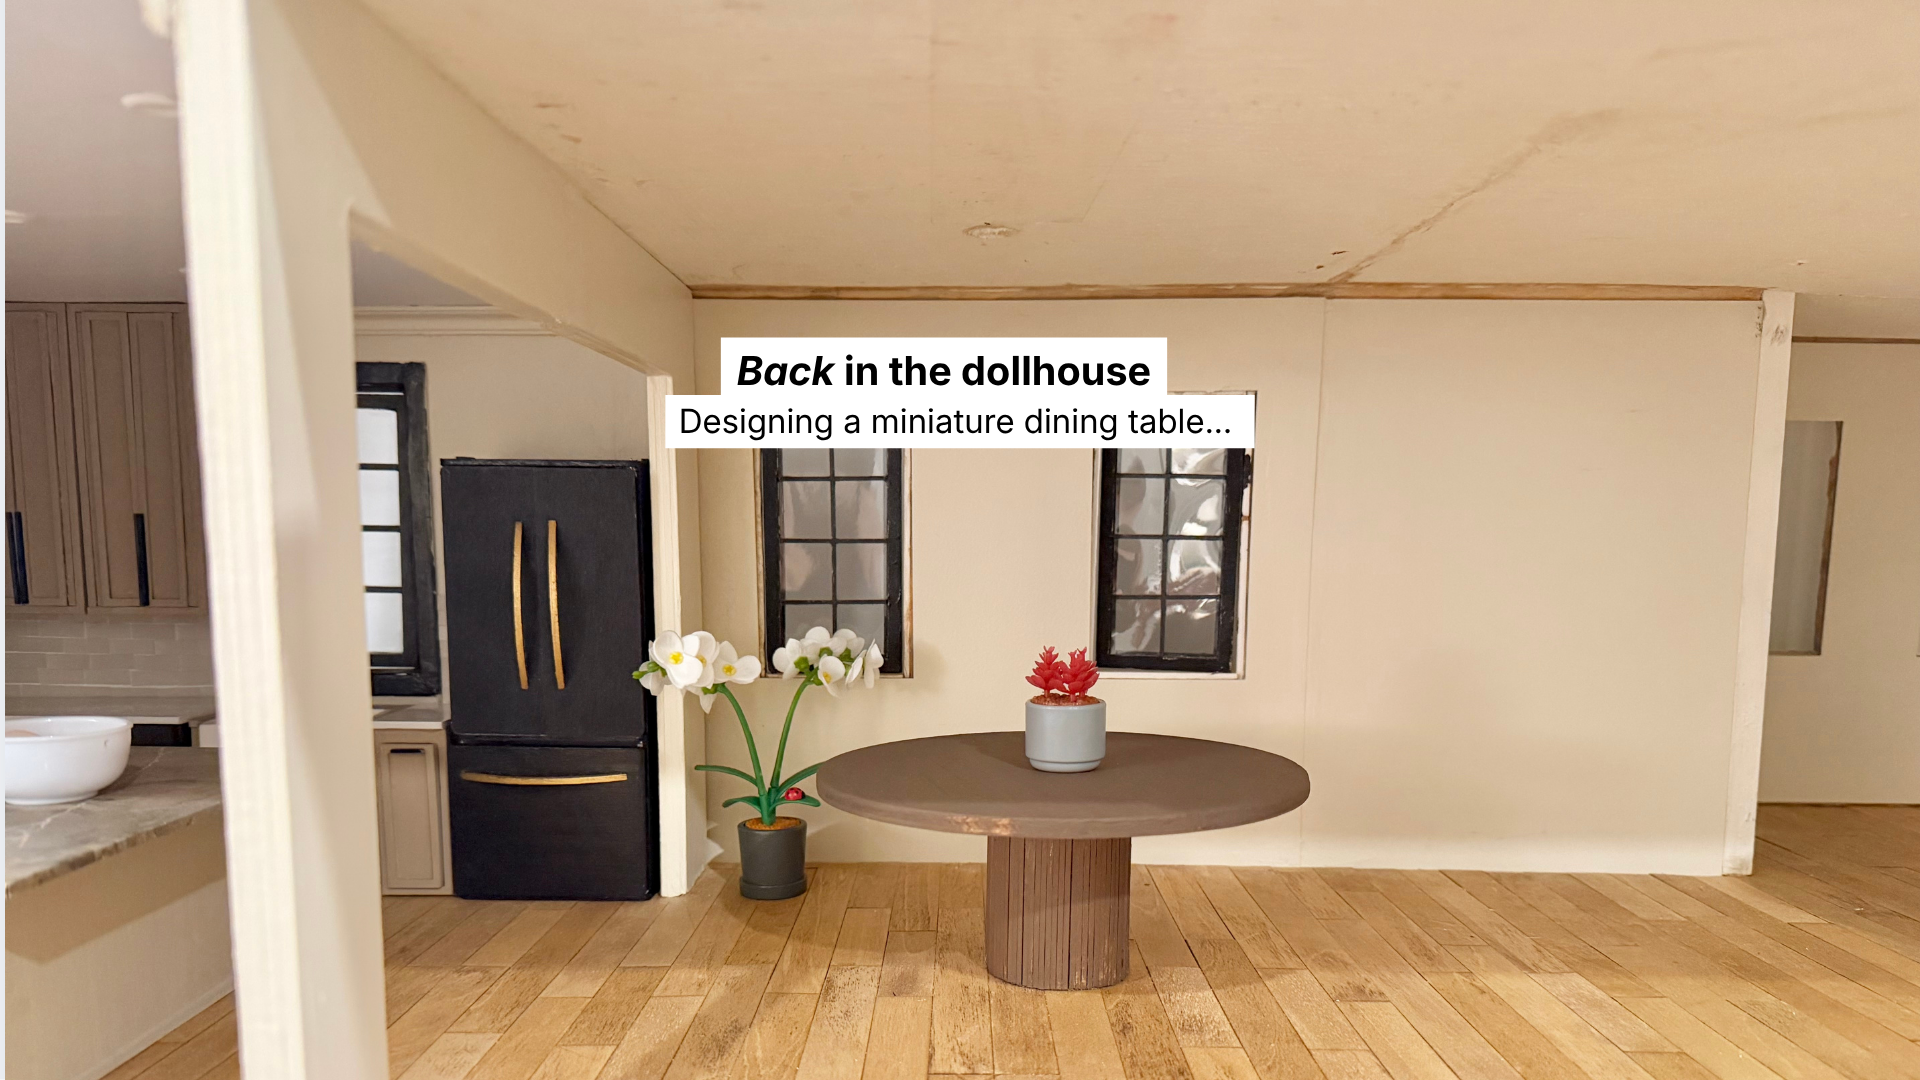
We finally started tearing into the interior of the dollhouse.
This phase of the renovation included demo, wallpaper removal, sanding, rebuilding sections of the walls, and installing the first section of custom flooring downstairs.
A lot of this video is honestly just tiny renovation chaos in the best way possible.
There’s peeling wallpaper, piles of debris, sanding dust everywhere, tiny trim pieces flying off the walls, and a surprising amount of very satisfying clicky-clacky demo sounds.
And somehow, despite the mess, this was also the stage where the house finally started feeling like it was moving forward.
One Last Walkthrough Before Demo
Before starting the interior demo, I wanted to do one more walkthrough of the house as-is.
Every floor looked completely different from the next.
Some rooms had carpet, some had wallpaper, some had tile, and some had what looked like wood plank flooring — although most of that turned out to basically be laminated paper strips cut to resemble wood boards.
The second-floor bathroom still had all the original tiny fixtures and tile in it, and there were old trims, built-ins, and little details all over the house from different phases of its life over the years.
Then we started ripping everything apart.
Wallpaper Removal, Demo & Tiny Construction Chaos
A lot of this phase was honestly just figuring out what would come off easily… and what absolutely would not.
Some of the wallpaper peeled off in giant satisfying strips almost immediately.
Other sections came off in tiny little scraps and fought me the entire time.
I ended up spraying a lot of the walls down with Dawn Powerwash before scraping them because it actually loosened the old adhesive better than trying to heat everything up with a blow dryer or heat gun.
I think because the wallpaper and glue were so old, adding moisture worked way better than adding heat.
There was also a truly unnecessary amount of tiny renovation debris involved in this process.
Wallpaper scraps.
Tiny trim pieces.
Old glue.
Dust everywhere.
And somehow miniature demo still manages to create a very real renovation mess.
Rebuilding the Walls
Once most of the demo was done, I started rebuilding some of the downstairs walls.
The original surfaces underneath the wallpaper were pretty rough in a lot of places, so I cut thin wood panels to act as fresh “drywall” before moving on to flooring and interior finishes.
After painting the panels white with a foam roller, I glued and taped them directly onto the walls while everything dried.
The foam roller ended up giving the walls a really smooth finish that I liked way more than I expected to.
It also immediately made the rooms feel cleaner and brighter, even though everything was still very unfinished at that point.
Making the Floors
The original “wood floors” looked convincing from far away, but once I started pulling them up, they were basically laminated strips designed to imitate wood planks.
There really wasn’t anything underneath worth refinishing or saving.
So I decided to make completely new flooring instead.
I laser cut individual wood planks, then layered two different stain colors to create more variation and dimension in the wood tones.
And yes, laying individual miniature wood planks takes exactly as long as you would imagine.
Maybe longer.
I originally thought spreading glue across larger sections of the floor would make installation easier, but once I got going, I realized placing glue individually on the planks actually gave me way more control over spacing and alignment.
Especially around the front entry area where I had to start adjusting plank sizes to keep the flooring pattern lined up correctly.
It definitely took longer.
But it looked way better.
Tools + Materials Used
- Wood Stains —https://amzn.to/4dtTBsV and https://amzn.to/4v6lZXW
- Paint brush — https://amzn.to/4dqtmDM
- Plywood sheets – https://amzn.to/4dHloVM
- Wood glue – https://amzn.to/4tOUFOl
- Chisel set – https://amzn.to/3RIWDRz
- Dawn – https://amzn.to/42SWRbk
- Multi-tool – https://amzn.to/4nLJWkV
- Multi-tool sander attachment – https://amzn.to/3Q096Qn
- Sand paper for multi-tool sander – https://amzn.to/4dN1LeR
Full materials list and everything I use in my studio is linked in my Amazon Favorites — coming soon.
Watch the Full Build
The video above walks you through the entire process with voiceover. If you want to follow the full dollhouse kitchen renovation from the beginning, the complete series playlist is linked here.
What’s Next
There’s still so much to do inside this house (the exterior too!)
There’s still a long way to go, but I’m really excited to keep building this little world piece by piece.